Understanding the Benefits of Moving Windows from HDD to SSD
1. Improved Performance:
Moving Windows from HDD to SSD brings substantial performance improvements. SSDs have earned a reputation for their superior speed compared to HDDs, delivering faster boot times, quick application launches, and an overall snappy system responsiveness.
The key differentiating factor is that SSDs do not rely on mechanical components to access data, as HDDs do. Instead, SSDs use flash memory, which enables rapid data retrieval without the need for physical read/write heads. This fundamental difference in technology allows SSDs to deliver remarkable performance benefits.
When transitioning from an HDD to an SSD, users experience a significant reduction in loading times for operating system startup and application launch. The completion of previously time-consuming tasks within seconds significantly enhances overall productivity and improves the user experience.
The improved performance of SSDs is especially noticeable in tasks involving data transfer, such as file copying or large-scale data processing. These processes are expedited, resulting in shorter waiting times and smoother workflow.
By migrating Windows from HDD to SSD, users unlock the full potential of their system, enjoying the benefits of enhanced performance, improved efficiency, and heightened productivity.

2. Enhanced Reliability:
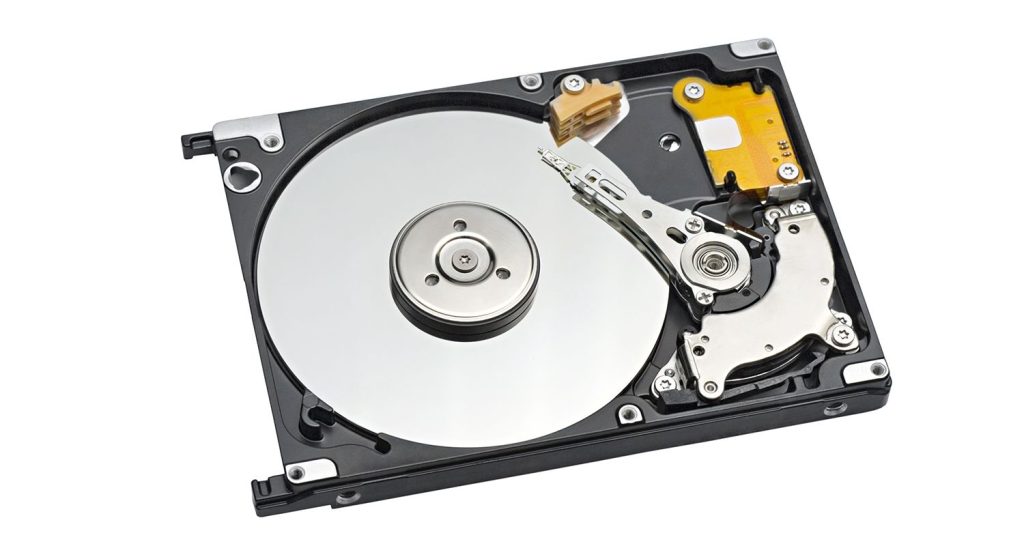
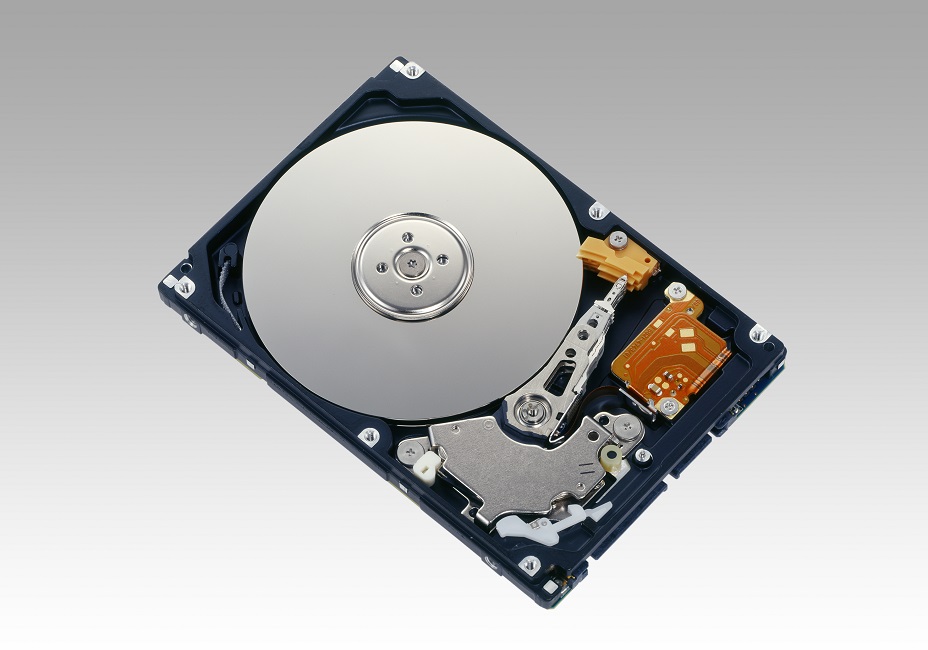
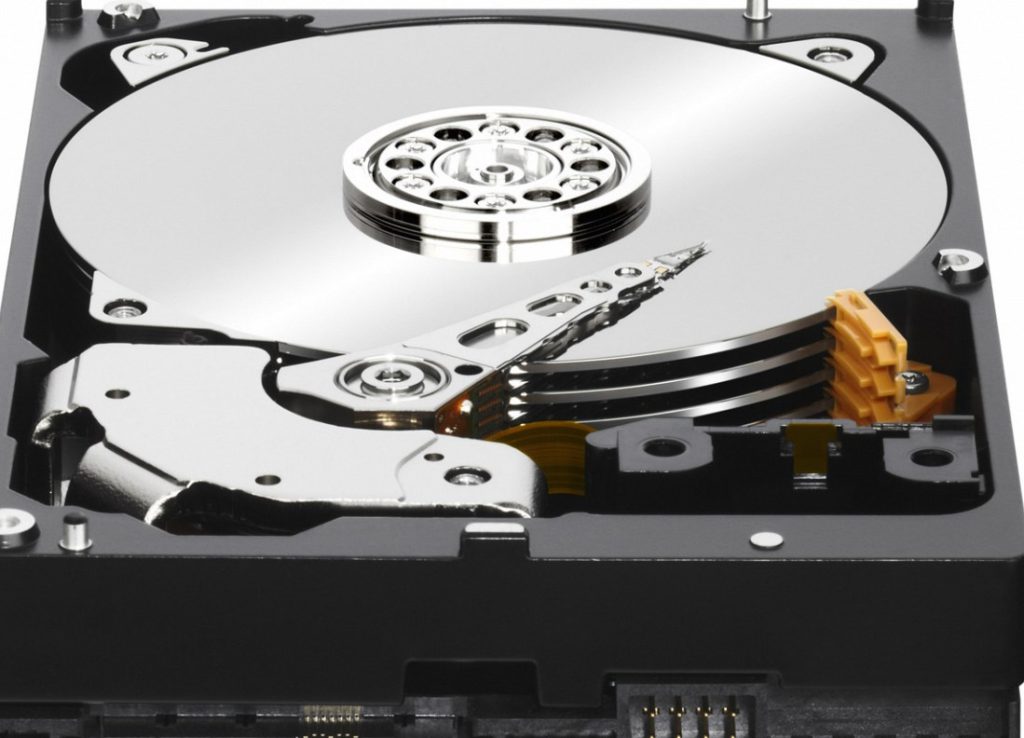
SSDs have no moving parts, which makes them less prone to mechanical failures that can occur with HDDs. This increased reliability means a reduced risk of data loss and a longer lifespan for your storage device.
Preparing for the Migration Process
1. Backup Your Data:
Before embarking on the migration process, it is vital to prioritize the safety of your valuable data. Taking the time to back up all your important files ensures that they remain secure throughout the migration process. Although the migration process is generally safe, unforeseen issues can arise, making it essential to have a reliable backup as a precautionary measure.
Data backups can be performed using various methods, such as creating a full system backup or selectively backing up specific files and folders. Options include using external storage devices like external hard drives or cloud storage services.
Having a backup allows for peace of mind, knowing that even if something goes wrong during the migration process, your data remains safe and accessible. In the event of a failed migration or data corruption, you can easily restore your files from the backup, minimizing potential data loss and ensuring continuity.
2. Assess Storage Requirements:
SSDs generally have smaller storage capacities compared to HDDs. Therefore, it’s essential to evaluate your storage requirements and ensure that the SSD you choose has enough capacity to accommodate your Windows installation and other necessary files.
Methods for Transferring Windows from HDD to SSD
1. Cloning Software:
When it comes to transferring Windows from HDD to SSD, cloning software is a favored and efficient method. Widely-used programs like Macrium Reflect, EaseUS Todo Backup, and Clonezilla offer features that enable you to create an exact replica of your HDD on the SSD, encompassing the operating system, files, and settings.
Cloning software simplifies the migration process by guiding you through the necessary steps. First, connect the SSD to your computer, ensuring it is recognized by the system. Then, launch the chosen cloning program and select the source (HDD) and destination (SSD) drives. Follow the instructions to initiate the cloning process, which can take some time depending on the size of the data being transferred.
Once the cloning process is complete, you can set the SSD as the primary boot drive in your system’s BIOS, ensuring it is recognized as the main storage device. Afterward, you can restart your computer and start enjoying the benefits of Windows running on the faster and more reliable SSD.
Cloning software offers a straightforward and efficient solution for transferring Windows from HDD to SSD, allowing for a seamless transition without the need for manual reinstallation or configuring settings from scratch.

2. Fresh Installation:
Alternatively, you can opt for a fresh installation of Windows on the SSD. This method involves reinstalling Windows from scratch onto the SSD and then reinstalling your applications and transferring your files manually. While this method requires more time and effort, it allows for a clean system setup.
Executing the Migration and Post-Migration Tasks
1. Cloning Process:
If the cloning method is your preferred choice for transferring Windows from HDD to SSD, it is essential to follow the instructions provided by the cloning software. Start by connecting the SSD to your computer, ensuring it is properly recognized by the system.
Launch the cloning software and navigate to the appropriate section or option that allows you to select the source (HDD) and destination (SSD) drives for the cloning process. Carefully choose the correct drives to avoid any data loss or overwriting of important files.
Once you have selected the appropriate drives, initiate the cloning process as guided by the software. The duration of the cloning process will depend on the amount of data being transferred.
After successfully completing the cloning process, you must prioritize setting the SSD as the primary boot drive in your system’s BIOS. This ensures that the computer recognizes the SSD as the main storage device and enables faster boot times and improved system performance.
By carefully following these steps, you can efficiently clone your HDD to the SSD, allowing for a seamless transition and enjoying the benefits of improved speed and reliability on your Windows operating system.
2. Post-Migration Tasks:
Once you have successfully completed the migration process from HDD to SSD, there are important post-migration tasks to ensure optimal performance and functionality.
First and foremost, it is essential to verify that you have correctly installed Windows on the SSD and that it is functioning as expected. Double-check that you have transferred all necessary files, settings, and applications to the new drive and ensure their accessibility.
Next, update your drivers and firmware to ensure compatibility and optimal performance with the SSD. Visit the manufacturer’s website or use dedicated software to download and install the latest drivers and firmware updates for your specific hardware components.
Additionally, it is essential to optimize your SSD’s settings for maximum efficiency. Enable TRIM, a feature that helps maintain the performance and lifespan of the SSD by managing the space used by deleted files. Disable defragmentation, as SSDs do not benefit from this process and it can wear down the drive unnecessarily.
These post-migration tasks will ensure that your Windows installation on the SSD is secure, up to date, and optimized for superior performance, enhancing your overall computing experience.
In conclusion, moving Windows from HDD to SSD brings numerous benefits, including improved performance and enhanced reliability. Before migrating, make sure to back up your data and assess your storage requirements. You can accomplish the migration by using cloning software or performing a fresh installation of Windows.Following the migration, perform post-migration tasks such as verifying the installation, updating drivers, and optimizing SSD settings. By following these essential tips and tricks, you can successfully transfer Windows to an SSD and enjoy the improved performance and reliability it offers.