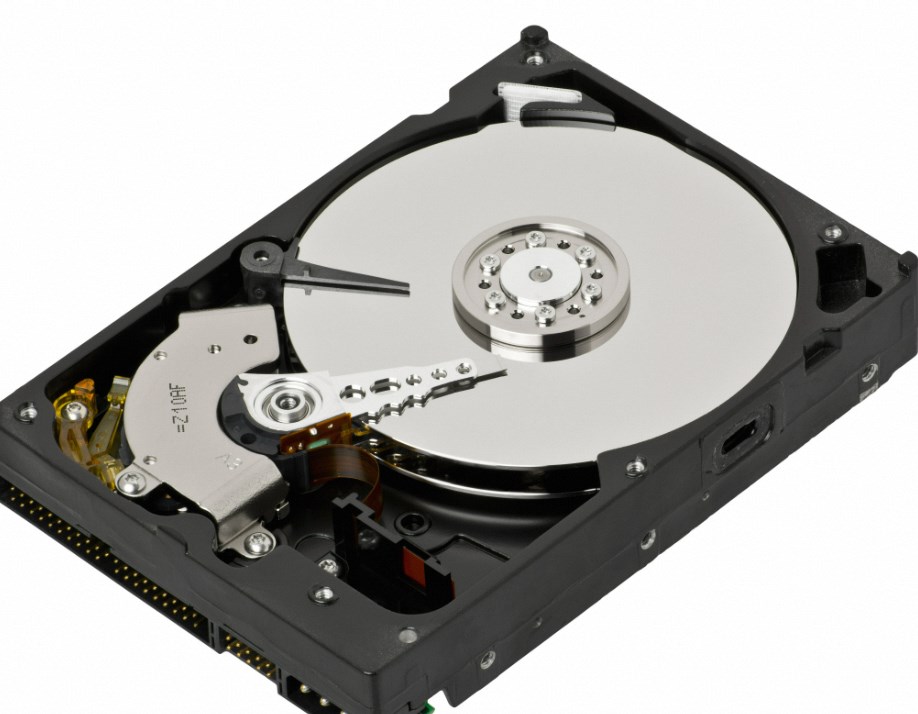
Introduction:
Upgrading from a traditional hard disk drive (HDD) to a solid-state drive (SSD) is a quick and effective way to boost your computer’s performance. SSDs offer faster data access, improved boot times, and increased reliability. This article will provide you with a step-by-step guide on how to transfer your HDD to an SSD, ensuring a smooth and hassle-free process.
Preparation
1. Select the Right SSD:
When upgrading from an HDD to an SSD, it is essential to select the right SSD that suits your needs. Consider the storage capacity required to accommodate your data and operating system. Evaluate factors such as read/write speeds, as faster speeds contribute to improved performance. Reliability is another crucial aspect to consider, as you want an SSD that will last and withstand daily usage. Research reputable brands known for their reliable SSDs. Lastly, keep your budget in mind. While SSDs have become more affordable over time, prices can still vary based on storage capacity and performance. Strike a balance between your requirements and available options. By considering factors such as storage capacity, read/write speeds, reliability, and budget, you can choose the right SSD that will provide a smooth and efficient transfer of your data and operating system, ultimately delivering the enhanced performance you desire.
2. Backup Your Data:
Before starting the transfer, it is essential to back up all your important files and data. This ensures that your data remains safe during the process and can be easily restored if needed.
Cloning Your HDD
1. Obtain Cloning Software:
Download a reliable disk cloning software such as EaseUS Todo Backup, Macrium Reflect, or Clonezilla. These tools simplify the cloning process by creating an exact copy of your HDD on the SSD.
2. Connect the SSD:
Install the SSD into your computer by connecting it using the appropriate cables. Ensure that the SSD is recognized by your system before proceeding.
Transfer Process
1. Launch the Cloning Software:
Open the cloning software and select the option to clone your HDD to the SSD. Specify the source (HDD) and destination (SSD) drives as instructed by the software.
2. Start the Cloning Process:
Follow the software’s instructions to initiate the cloning process. This may involve selecting specific partitions, adjusting settings, and confirming the start of the transfer. The software will clone all data from the HDD to the SSD.
Final Steps
1. Verify the Cloned SSD:
Once the cloning process is complete, verify that the cloned SSD is an exact replica of your original HDD. Ensure that all files, applications, and settings are intact.
2. Set SSD as Boot Drive:
Access your computer’s BIOS settings and set the SSD as the primary boot device. Save the changes and restart your computer. Your system should now boot from the SSD, delivering improved performance and speed.
Conclusion:
Transferring your HDD to an SSD is a quick and straightforward process that can significantly enhance your computer’s performance. By following the steps outlined in this guide, you can successfully complete the transfer in no time. Remember to select the right SSD, back up your data, use reliable cloning software, connect the SSD properly, and verify the cloned SSD. With your data and operating system running on the SSD, you will experience faster boot times, quicker application launches, and overall improved performance. Enjoy the benefits of your upgraded system and take full advantage of the speed and efficiency provided by an SSD.