The click of the shutter. The anticipation of capturing a perfect moment. But then, disaster strikes – your camera malfunctions, leaving you with blurry photos, error messages, or a complete lack of response. We’ve all been there, facing a camera catastrophe that throws a wrench in our photographic endeavors. Before you resign yourself to blurry memories or a trip to the repair shop, take a deep breath!
This guide tackles some of the most common camera woes, empowering you to troubleshoot and fix the issue yourself. Whether you’re a seasoned shutterbug or a curious beginner, these solutions will equip you to get your camera back up and running in no time.
Part 1: Power Plays and Memory Mishaps: Resolving Battery and Storage Issues
The Powerless Struggle: A Flat Battery
The most common culprit behind a non-functioning camera is a dead battery. This is a simple fix, but one that can easily be overlooked. Ensure your battery is fully charged before embarking on your photography adventure. Investing in a spare battery is a wise move, especially for photographers who shoot frequently. Always carry a spare and keep it charged for extended shooting sessions.
Storage Woes: A Full Card or Insufficient Space
Modern cameras capture high-resolution images, leading to larger file sizes. Imagine each photo as a digital scrapbook, filled with intricate details. The more detail, the bigger the scrapbook, and the faster your memory card fills up. Before heading out, check your card’s storage capacity and ensure it has enough space for the photos you plan to capture. Consider the number of photos you typically take and the resolution settings you use. If you’re unsure, err on the side of caution and bring a spare card.
Part 2: Fuzzy Focus and Frustrating Exposures: Tackling Image Quality Issues
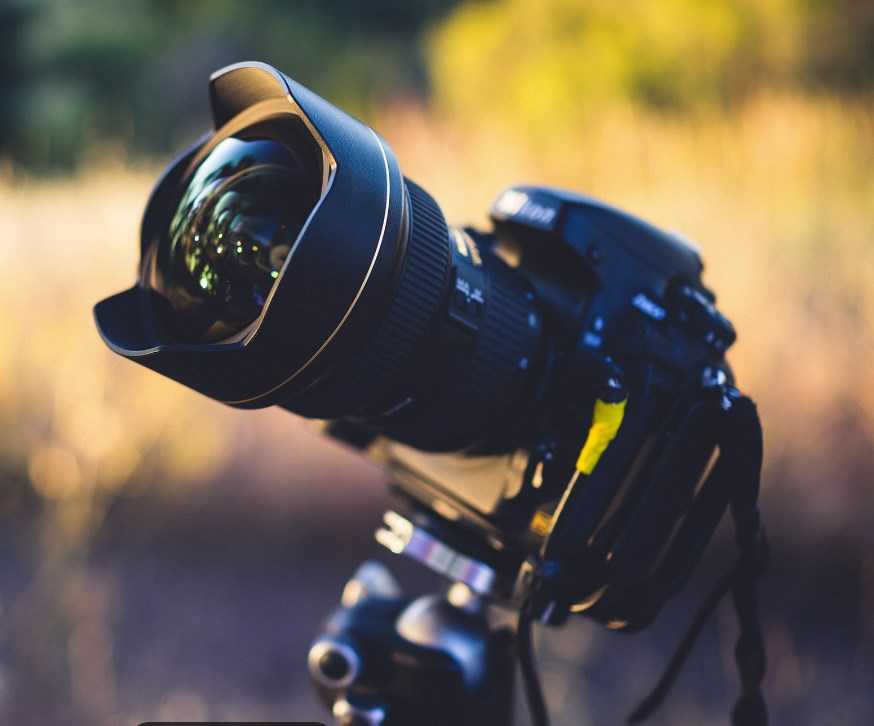
Focusing Frustrations: A Misaligned Lens or Autofocus Malfunction
Blurry photos can stem from various factors. First, ensure the lens is properly mounted and securely attached to the camera body. Clean the lens front element with a microfiber cloth to remove any dust or smudges that might be affecting image clarity. If autofocus isn’t working properly, consult your camera’s manual for troubleshooting autofocus settings or try switching to manual focus to diagnose the issue.
Exposure Errors: Incorrect Settings or Inappropriate Mode
Pay attention to your camera settings, particularly aperture, shutter speed, and ISO. These settings determine how much light reaches the camera’s sensor, ultimately affecting the brightness and overall quality of your image. Incorrect settings can lead to underexposed (too dark) or overexposed (too bright) images. Experiment with different settings in various lighting conditions to achieve optimal image quality. Additionally, ensure the appropriate shooting mode is selected for the situation. Most cameras offer modes like aperture priority (Av), shutter priority (Tv), and program mode (P). These modes allow you to control specific settings while the camera automates the rest, making them ideal for beginners or situations where you want some creative control without diving into full manual mode.
Part 3: The Click of Confusion: Deciphering Error Messages
Error Messages: Unraveling the Mystery
If your camera throws an error message at you, don’t panic! These messages are often cryptic but contain valuable clues to diagnose the issue. Consult your user manual for specific troubleshooting steps related to the error code displayed. These steps might involve restarting the camera, checking for loose connections, or even formatting the memory card. Remember, formatting might erase custom settings, so proceed with caution if you’ve made significant adjustments.
Beyond Basic Troubleshooting: Seeking Professional Help
Stuck troubleshooting your camera and feeling like you’re lost in a maze of menus and error messages? Don’t despair! Camera repair shops are your knight in shining armor. These facilities are staffed with technicians who are like camera whisperers. They possess the knowledge and expertise to diagnose and fix even the trickiest camera ailments, from hardware malfunctions to software gremlins.
Think of them as camera detectives. They have the tools and experience to delve deeper than basic troubleshooting, examining the intricate workings of your camera to pinpoint the exact culprit behind your photographic woes. Whether it’s a delicate sensor cleaning or a more complex repair involving internal components, camera repair shops are equipped to handle it all. So, if you’ve exhausted all your DIY troubleshooting skills and your camera is still acting up, don’t hesitate to seek professional help. A visit to a camera repair shop could be the key to bringing your trusty camera back to life and getting you back to capturing those cherished moments.
Part 4: Beyond the Fix: Preventative Measures for a Smooth Shooting Experience
Knowledge is Power: Understanding Your Camera
Don’t be intimidated by your camera’s instruction manual! It’s the key to unlocking its full potential and avoiding meltdowns. Think of it as a treasure map, guiding you through the various settings and functions. Spend some quality time getting acquainted with your camera. Experiment with different modes and settings in various lighting conditions. Treat it like a practice session, not a test. The more comfortable you become with your camera, the more it becomes an extension of your creativity, not a source of frustration. Imagine the confidence you’ll gain knowing exactly how to capture that perfect shot, all thanks to a little user manual exploration!
Preparation is Key: Prepping for Your Shoot
A little preparation goes a long way in avoiding camera problems. Before heading out on a photography adventure, ensure your battery is fully charged and you have a spare on hand. Take a couple of extra memory cards, especially if you plan on shooting a lot of photos. Pack a microfiber cloth for cleaning your lens and a small lens brush for removing dust. Keeping your camera clean helps maintain optimal image quality. Finally, double-check that your camera bag contains everything you need – extra batteries, memory cards, lens caps, and any filters you plan to use.
By following these tips and familiarizing yourself with your camera, you can transform those potential camera catastrophes into smooth and successful photography sessions. Remember, the more you practice and troubleshoot, the more confident you’ll become in your photographic abilities. So, grab your camera, embrace the troubleshooting knowledge you’ve gained, and get out there to capture those stunning moments!