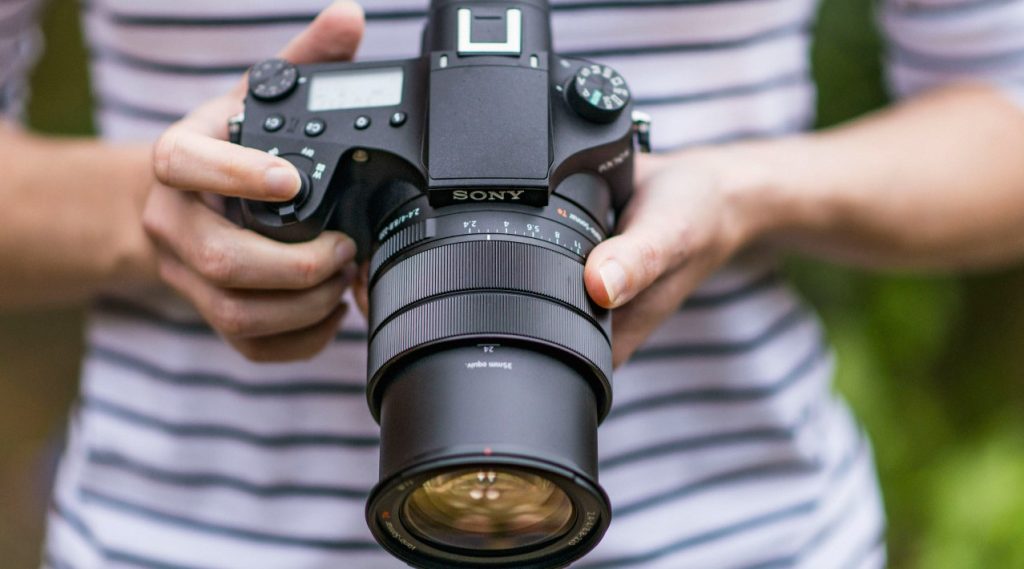
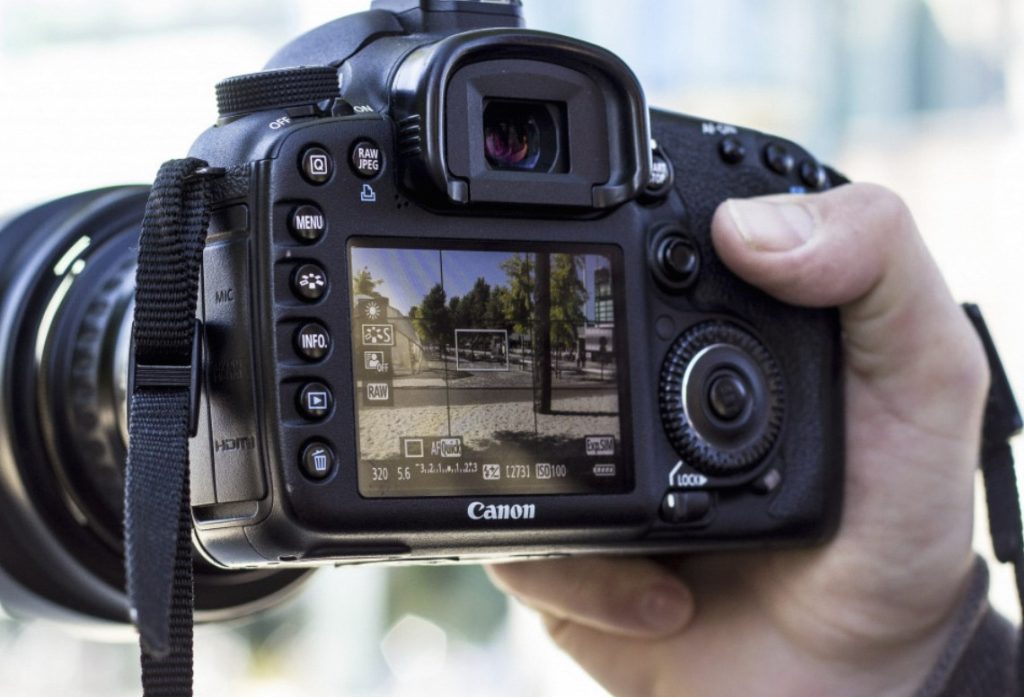
Taking that perfect picture goes beyond pointing and clicking. It’s about capturing a moment, a feeling, or a scene exactly how you envision it. But with all the dials and buttons on a camera, it can be overwhelming to know where to start. Fear not! This guide will break down the essential camera settings you need to master for “picture perfect” results.
Part 1: The Exposure Triangle
Understanding the exposure triangle is fundamental to mastering camera settings. It consists of three key elements that work together to determine the final look of your image:
Aperture:
Imagine the aperture as the iris of your eye. A wider aperture (low f-number) lets in more light, blurring the background and creating a shallow depth of field (DOF). Conversely, a narrow aperture (high f-number) lets in less light but keeps both the foreground and background sharp (deep DOF).
Shutter Speed:
The shutter speed on a camera controls the duration for which the camera’s sensor is exposed to light. A faster shutter speed is effective in freezing fast motions, such as a speeding car or a flying bird, but it requires more light to produce a properly exposed image. On the other hand, a slower shutter speed can capture motion blur, which is useful for conveying a sense of movement in a photograph. This slower speed reduces the amount of light needed for a well-exposed image, making it suitable for low-light conditions or when a photographer wants to create a certain artistic effect, such as capturing the flow of a waterfall or the movement of clouds in the sky. Understanding the relationship between shutter speed and light is crucial for photographers to effectively capture the desired motion in their photographs.

ISO:
ISO, also known as International Organization for Standardization, determines the camera‘s sensitivity to light. A higher ISO setting enables photographers to capture images in low-light conditions, making it particularly useful for indoor or night photography. However, the trade-off is that higher ISO levels can result in digital noise or grain, which can degrade the quality of the image. On the other hand, a lower ISO setting produces cleaner, smoother images with less noise, but it requires brighter lighting conditions for the camera to properly expose the image. By adjusting the ISO, photographers can adapt to various lighting situations and achieve the desired balance between sensitivity to light and image quality. Understanding the impact of ISO on image quality is essential for photographers to make informed decisions when capturing their subjects in different lighting environments.
Part 2: Mastering the Modes
Your camera offers various modes, each with a specific purpose. Let’s explore two commonly used options:
Aperture Priority (Av):
In aperture priority mode, the photographer manually sets the aperture, and the camera then automatically adjusts the shutter speed to ensure a proper exposure. This mode is particularly well-suited for photographers who want to have control over the depth of field in their images. By adjusting the aperture, photographers can manipulate the amount of background blur and control the overall sharpness in their photos. For example, a wide aperture (such as f/2.8) will create a shallow depth of field, resulting in a blurred background that can be ideal for portraits, while a narrow aperture (such as f/16) will produce a larger depth of field, ensuring that both the foreground and background are in focus. Aperture priority mode allows photographers to focus on creative aspects of their compositions, such as isolating a subject from its surroundings or capturing sweeping landscapes with intricate details throughout the image.

Shutter Priority (Tv):
In shutter priority mode, the photographer has control over the shutter speed to either freeze fast-moving subjects or intentionally create motion blur effects. This mode allows photographers to adjust the shutter speed according to their creative vision. For fast-moving subjects, such as athletes or wildlife, a faster shutter speed can effectively freeze the action, capturing crisp and sharp images. Conversely, a slower shutter speed can introduce motion blur, conveying a sense of movement in the image, which can lend a dynamic and artistic feel to the photograph. As the photographer chooses the desired shutter speed, the camera automatically adjusts the aperture to achieve a balanced exposure, ensuring that the image is neither too dark nor too light. Shutter priority mode is particularly well-suited for capturing action shots, such as sports or wildlife photography, as well as for photographing scenes with flowing water, such as waterfalls or streams.
Part 3: Lighting Like a Pro
Lighting is the lifeblood of photography. Here are two essential lighting tips:
Embrace Natural Light:
Whenever possible, it is advisable to prioritize the use of natural light for photography. Diffused sunlight that enters through windows or during overcast conditions can create a soft and flattering illumination, which is particularly well-suited for capturing portraits, still life, and other subjects. The even distribution of light reduces harsh shadows and highlights, resulting in a balanced and gentle illumination that enhances the details and textures in the subject. Additionally, the golden hour, which occurs shortly after sunrise and before sunset, offers a warm, soft, and golden-hued light that can produce stunning and dramatic results. This magical hour provides a beautiful, warm glow that can add a captivating and atmospheric quality to photographs, whether capturing landscapes, portraits, or other scenes. Embracing natural light and being mindful of the different qualities it can offer at various times of the day can greatly enhance the visual impact of photographs.

Learn to Work with Flash:
Don’t shy away from flash! Bounced flash (flash directed towards a wall or ceiling) creates softer light. Experiment with off-camera flash for dramatic effects.
Part 4: Composition Counts
A strong composition can elevate your photos from ordinary to extraordinary. Here are two composition techniques to consider:
The Rule of Thirds:
By applying the rule of thirds to your composition, you envision your frame as divided into a 3×3 grid with nine equal parts. To achieve a more balanced and visually appealing composition, position your main subject along the intersecting lines or at the points where the grid lines meet. Placing the subject off-center in this manner adds visual interest and creates a sense of dynamism in the image. It also allows for a more natural and harmonious distribution of visual elements within the frame, drawing the viewer’s attention to the subject while maintaining a well-structured and pleasing composition. This technique is widely utilized in photography and can help create more captivating and engaging images, whether it’s portraying a striking landscape, a compelling portrait, or any other subject matter.
Leading Lines:
Use natural lines in the environment, like roads, fences, or rivers, to draw the viewer’s eye into the image and towards your subject.
Bonus Tip:
Practice makes perfect! Don’t be afraid to experiment with different settings and lighting conditions. With practice, you’ll develop an intuitive understanding of how these elements work together to create stunning photographs.
Remember, the best camera settings depend on the specific situation and creative vision you have for your image. This guide equips you with the foundational knowledge to unlock your camera’s potential and capture picture-perfect moments!