Understanding the Basics of Hardware Compatibility
Check Your PC’s Hardware Compatibility
Before proceeding with the installation of an additional HDD in your PC, it is important to confirm that your system has the necessary support for extra storage devices. Start by checking the specifications of your motherboard and power supply to determine the availability of additional SATA ports and power connectors.
Consult the documentation or the manufacturer’s website of your motherboard to find the number of SATA ports it offers. This will help you understand if you have enough ports for the new HDD. Similarly, check your power supply to ensure that it has sufficient power connectors to accommodate the additional drive.
Verifying the compatibility of your system’s hardware is crucial to avoid any potential issues during the installation process. By confirming that your PC has the required SATA ports and power connectors, you can proceed with confidence, knowing that your system is capable of supporting the new HDD without any complications or limitations.
Choose the Right HDD
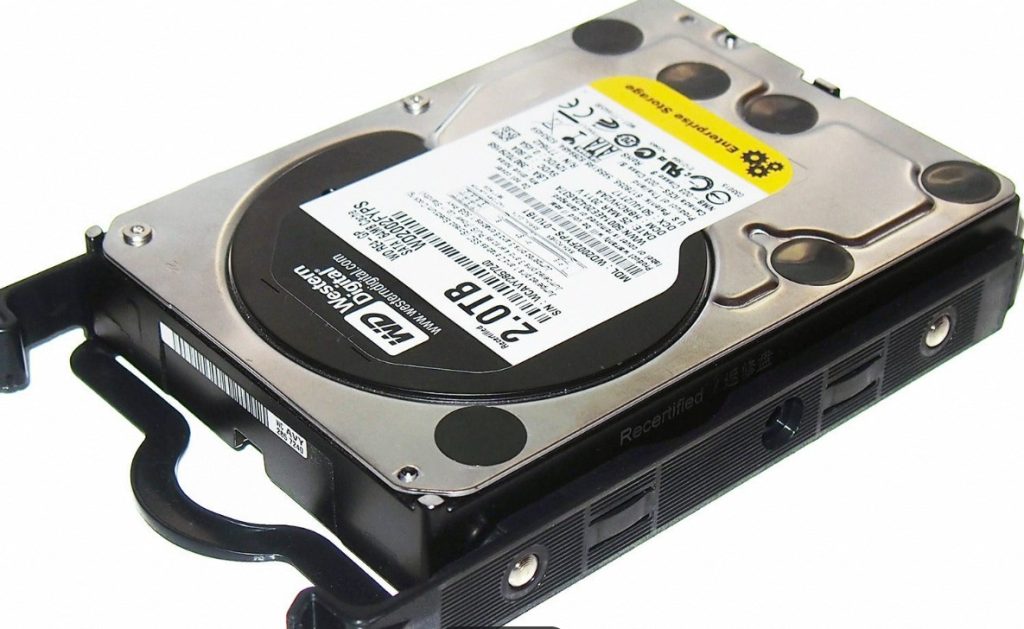
When choosing an HDD for your PC, it is essential to consider your specific storage needs and budget. Begin by determining the desired storage capacity you require, taking into account factors such as the types of files you plan to store and any future expansion needs.
Compare different brands and models of HDDs to ensure you find a reliable and compatible option that aligns with your requirements and budget. Look for reputable brands known for their quality and performance. Read reviews and customer feedback to gain insights into the reliability and durability of different HDD models.
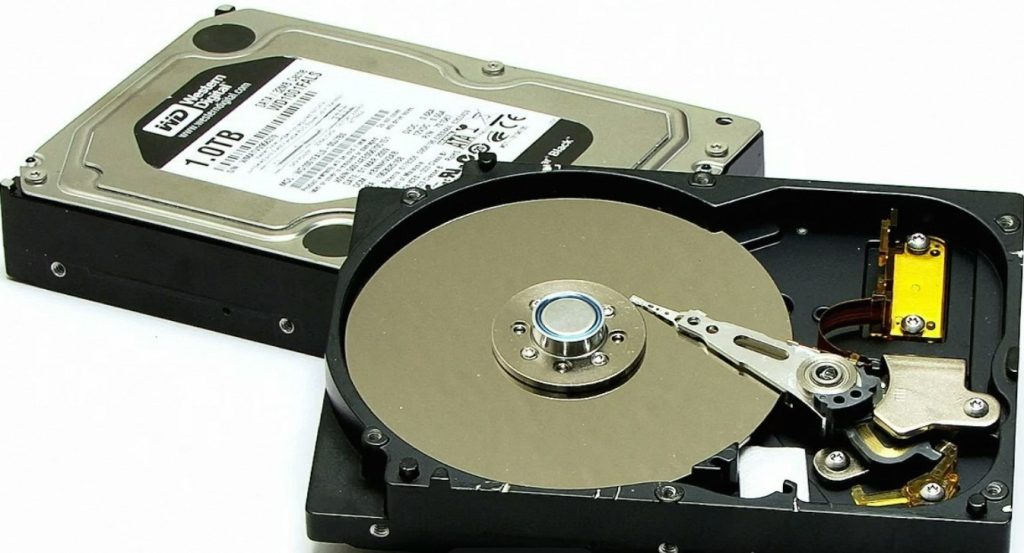
Additionally, consider factors such as the rotational speed (RPM) of the HDD, cache size, and interface type (SATA, NVMe, etc.). These specifications can impact the overall performance and speed of the drive.
By carefully assessing your storage needs and budget, and conducting thorough research on various HDD options, you can make an informed decision and choose an HDD that offers the optimal combination of storage capacity, reliability, and affordability for your PC.
Preparing Your PC for Installation
Safety Precautions
Before you begin to add an HDD to your PC, it is crucial to prioritize safety and take the necessary precautions. Start by powering off the system completely and shutting it down. Once the computer is turned off, unplug the power cord from the wall outlet to eliminate any potential electrical hazards.
To prevent static electricity from damaging sensitive components, it is recommended to use an anti-static wrist strap. Secure the strap around your wrist and attach the other end to a grounded metal object, such as the PC case, to discharge any static buildup.
By following these safety measures, you minimize the risk of electrical shock and protect your PC components from damage caused by static discharge. Taking these precautions ensures a safe working environment and reduces the chances of encountering any unexpected issues during the installation process.
Gather the Necessary Tools
Before you begin the installation process, it is essential to gather the necessary tools and equipment. To install an HDD in your PC, you will typically need a screwdriver, SATA cables, and power cables (if not already provided with the HDD).
Ensure you have a screwdriver with the appropriate head (usually Phillips or flathead) to remove and secure screws during the installation. SATA cables are necessary to establish a connection between the HDD and the motherboard. Check the length of the SATA cables to ensure they are sufficient for your installation needs.
In some cases, power cables may also be required if they are not included with the HDD. These cables connect the HDD to the power supply unit, providing the necessary power for the drive to operate.
By having these tools and cables readily available before starting the installation process, you can work efficiently and avoid unnecessary interruptions or delays. Double-check that you have all the required tools and cables to complete the installation smoothly.
Physically Installing the HDD
Opening the PC Case
To begin installing the HDD, it is necessary to open your PC’s case. This can usually be done by removing the screws or fasteners that secure the case. Take caution while doing this to prevent any damage to the case or its components.
Once the screws or fasteners are removed, carefully slide off the side panel of the case. Place the panel aside in a safe location where it won’t be accidentally knocked over or damaged.
Removing the side panel grants access to the internal components of your PC, allowing you to proceed with the installation of the HDD. Keep in mind that the interior of the PC may contain sensitive components, so handle everything with care to avoid any unintentional damage.
Mounting the HDD
After opening your PC’s case, locate an available drive bay where you can install the HDD. Most PC cases have multiple drive bays, usually positioned near the front or bottom of the case.
Once you’ve identified an empty drive bay, carefully position the HDD in the bay, aligning the screw holes on the sides or bottom of the drive with the corresponding holes in the bay.
Depending on your case and HDD, you will either use screws or mounting brackets to secure the drive. If screws are required, insert them through the screw holes and into the corresponding holes in the drive bay. If mounting brackets are needed, follow the instructions provided with the brackets to attach the HDD securely.
Ensure that the HDD is firmly and stably mounted in the drive bay to prevent any movement or vibration during operation. This helps minimize the risk of damage and maintains the integrity of the drive.
By properly attaching the HDD using screws or mounting brackets, you ensure that the drive is securely installed in your PC, ready for the next steps of connecting cables and configuring the drive.
Connecting the HDD to Your System
Connecting SATA Data Cable
Locate an available SATA port on your motherboard and connect one end of the SATA data cable to the port. Connect the other end to the corresponding port on the HDD.
Connecting Power Cable
Connect a SATA power cable from the power supply unit to the power connector on the HDD. Ensure a snug connection without forcing the cable.
Configuring and Initializing the HDD
BIOS Configuration
Access your PC’s BIOS settings by restarting your system and pressing the designated key (often Del, F2, or F12) during startup. Enter the BIOS and navigate to the storage settings to detect and configure the newly installed HDD.
Initializing and Formatting the HDD
Once the PC recognizes the HDD, initialize and format it through the Disk Management utility in Windows. Create partitions, assign drive letters, and choose a file system (usually NTFS) during the formatting process.
Conclusion:
Adding an HDD to your PC is a straightforward process when following this comprehensive guide. Ensure hardware compatibility, prepare your PC for installation, physically mount the HDD, connect the necessary cables, and configure the drive through BIOS and Windows settings. By expanding your storage capacity with an additional HDD, you can enjoy ample space for storing files, games, and media, enhancing your PC usage and overall computing experience.