Introduction:
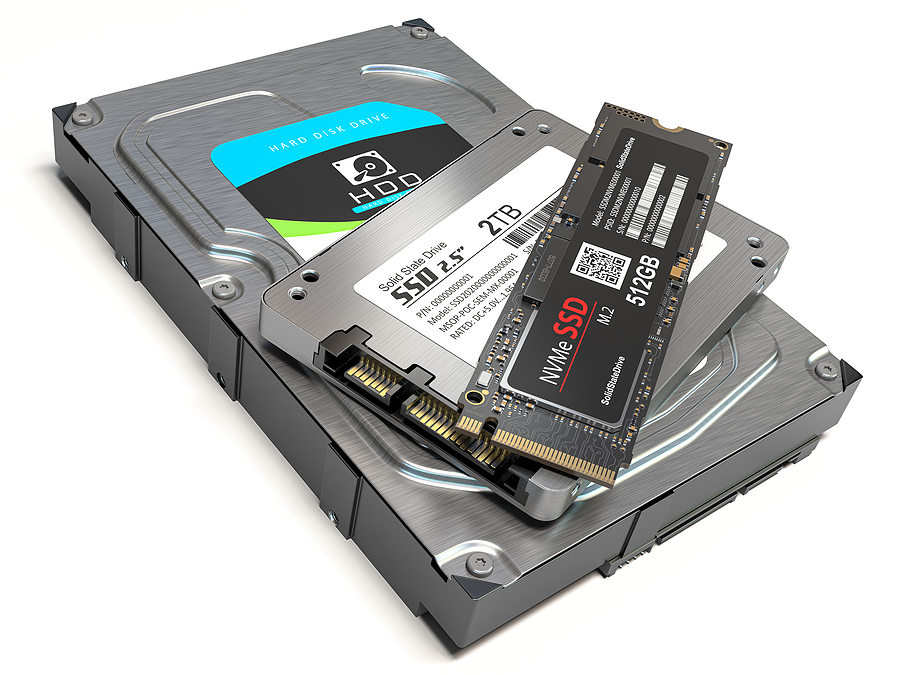
Technologies have undeniably improved our lives in various ways. Adding an additional hard disk drive (HDD) to your computer can provide extra storage space for your files and improve overall system performance. In this article, we will guide you through a step-by-step process of installing a new HDD into your computer, enabling you to expand your storage capacity seamlessly.
I. Preparing for Installation
Before diving into the installation process, it is essential to gather the necessary tools and familiarize yourself with the specifications of your computer and the new HDD. This section will walk you through the preparation steps required for a successful installation.
1. Checking Compatibility:
Ensure that the new HDD is compatible with your computer’s hardware and operating system. Consider factors such as interface (SATA or IDE), capacity, and physical dimensions. Consult your computer’s documentation or manufacturer’s website to verify compatibility.
2. Required Tools:
Gather the tools required for the installation, including a screwdriver, anti-static wrist strap, and appropriate cables (SATA or IDE). Additionally, prepare a small bowl or container to hold the screws during the installation process.
II. Physical Installation
Once you have gathered the necessary tools and information, it’s time to physically install the new HDD into your computer. This section will guide you through the step-by-step process of mounting the HDD properly.
1. Power Off and Unplug:
Power down your computer and unplug the power cable. This step is crucial to prevent any electrical damage and ensure your safety during the installation process.
2. Opening the Computer Case:
Carefully remove the screws or latches securing the computer case. Gently slide off or lift the side panel, exposing the internal components of your computer.
3. Selecting the Mounting Location:
Identify an available drive bay to install the new HDD. Choose a bay that aligns with the interface type (SATA or IDE) of your HDD.
4. Mounting the HDD:
Attach the HDD to the drive bay using screws or latches. Ensure a secure fit, but avoid overtightening the screws, as it may damage the HDD.
5. Connecting Power and Data Cables:
Connect the power cable from the power supply unit (PSU) to the power port on the HDD. Then, connect the appropriate data cable (SATA or IDE) from the motherboard to the corresponding port on the HDD. Ensure a snug and secure connection.
III. Configuration and System Recognition
After physically installing the new HDD, it is essential to configure and ensure that your computer recognizes the drive properly. This section will guide you through the necessary steps to configure and initialize the HDD.
1. Powering On and BIOS Access:
Close the computer case and secure the screws or latches. Plug in the power cable and power on your computer. During the boot process, press the designated key (often Del, F2, or F12) to access the BIOS settings.
2. BIOS Configuration:
Navigate to the BIOS settings related to storage devices or SATA/IDE settings. Ensure that the new HDD is recognized in the BIOS. If not, double-check the cable connections and power supply.
3. Partitioning and Formatting:
Once the HDD is recognized, you need to partition and format it. You can do this through the Disk Management utility in Windows. Create partitions according to your desired configuration and format them using NTFS or another compatible file system.
IV. Testing and Finalizing
The final step involves testing the newly installed HDD to ensure its functionality and making any necessary adjustments. This section will guide you through the testing and finalization process.
1. Testing Read/Write Capabilities:
Copy some files to the new HDD and verify that the data can be read and written without any issues. Run disk speed tests or performance benchmarks to evaluate the performance of the new drive.
2. Updating Drive Firmware:
Check the manufacturer’s website for any available firmware updates for your HDD. Keeping the firmware up to date can enhance compatibility, performance, and security.
3. Finalizing Installation:
Once you have verified that the new HDD is functioning correctly, you can close the computer case and secure it with screws or latches. Ensure all cables are neatly organized and out of the way to maximize airflow within the case.
Conclusion:
By following this step-by-step guide, you can successfully install a new HDD into your computer. Remember to gather the necessary tools, mount the HDD properly, configure the BIOS, and test the functionality of the drive. This process allows you to expand your storage capacity and optimize your computer’s performance. Enjoy the benefits of increased storage space and improved system functionality with your newly installed HDD.