Introduction:
Technologies have undeniably improved our lives in various ways. Upgrading your computer’s storage from a traditional hard disk drive (HDD) to a solid-state drive (SSD) can significantly enhance your system’s performance and speed. However, moving your operating system (OS) from the HDD to the SSD can be a daunting task for many users. In this guide, we will walk you through the step-by-step process of successfully transferring your OS from HDD to SSD, ensuring a smooth transition and maximizing the benefits of the SSD upgrade.
I. Preparations before the Transfer
Before diving into the OS transfer, it is crucial to make necessary preparations to avoid any potential data loss or system instability. This section will cover essential steps to ensure a seamless move to your new SSD.
1. Backing Up Your Data:
To ensure the safety of your important files and maintain their accessibility, it is highly advised to create a backup of all the data on your HDD. This can be achieved through the use of reliable backup software, which simplifies the process and automates the creation of a complete backup. Alternatively, you can manually copy essential files and folders onto an external storage device such as a USB drive or an external hard drive. This manual method allows you to have direct control over the backup process and select specific files or folders that you deem important. Whichever method you choose, it is crucial to verify the integrity of the backup by ensuring that all necessary files are successfully copied and can be retrieved when needed. By taking this precautionary measure, you can have peace of mind knowing that your valuable data is protected and can be restored in case of any unforeseen events or issues during the OS transfer process.
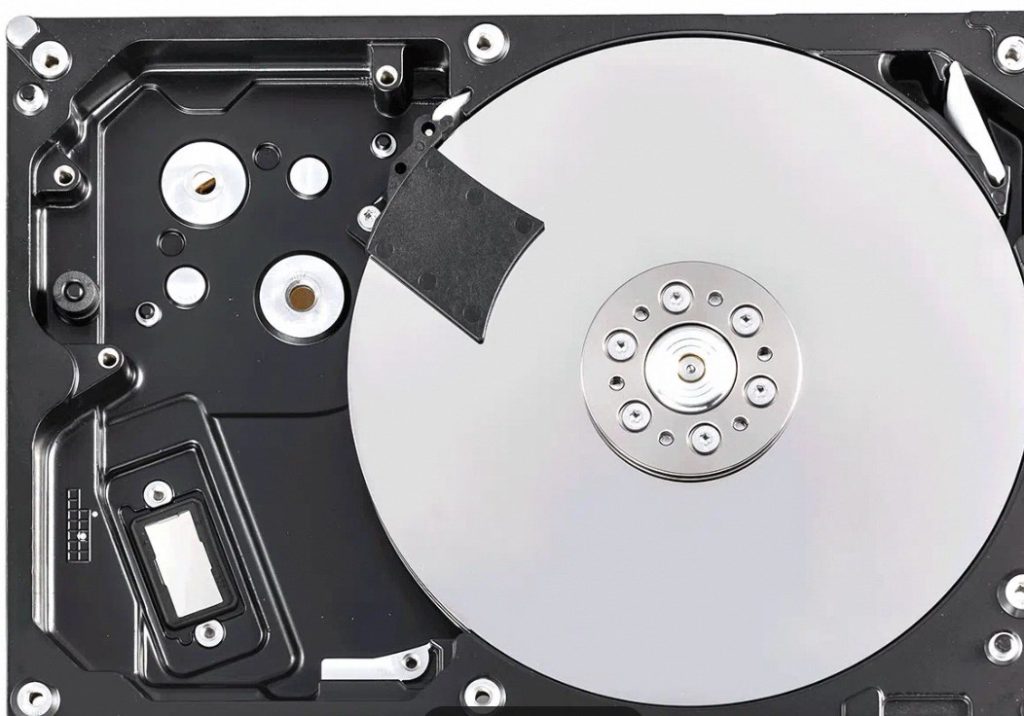
2. Checking Compatibility:
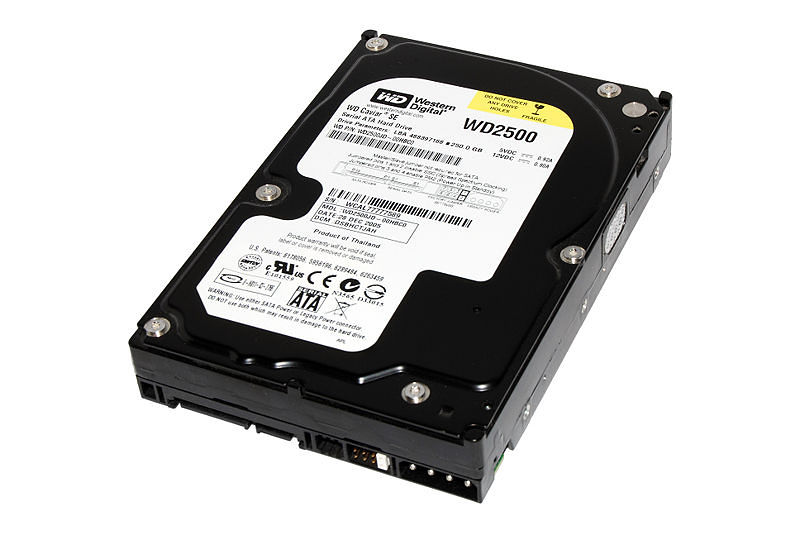
Ensure that your SSD is compatible with your computer’s hardware and operating system. Verify the specifications of the SSD and consult the manufacturer’s guidelines or your computer’s documentation for compatibility information.
II. Cloning Your OS to the SSD
Once you have made the necessary preparations, it’s time to clone your OS from the HDD to the SSD. This section will guide you through the process of migrating your operating system seamlessly.
1. Choosing Cloning Software:
When it comes to choosing a cloning software for transferring your OS from HDD to SSD, it is essential to select a reputable and reliable option. Several popular choices in the market include Macrium Reflect, Acronis True Image, and Clonezilla, each with its own set of features and capabilities. To make an informed decision, take the time to research and compare these cloning tools, considering factors such as user-friendliness, performance, and compatibility with your specific hardware and operating system.
Look for a cloning software that offers a user-friendly interface, making the process straightforward and intuitive. This will ensure that even users with limited technical knowledge can easily navigate through the steps. Additionally, prioritize reliability, as a stable and dependable cloning tool will ensure a successful transfer without any data loss or system errors.
Reading user reviews and seeking recommendations from trusted sources can also provide valuable insights into the performance and effectiveness of different cloning software. Ultimately, selecting the right cloning tool will play a crucial role in achieving a smooth and efficient OS transfer from your HDD to the new SSD.
2. Connecting the SSD:
Physically connect your SSD to your computer. Use appropriate cables or enclosures, depending on the SSD interface (SATA or NVMe). Ensure that the SSD is recognized by your computer’s BIOS and appears as an available storage device.
3. Initiating the Cloning Process:
Launch the cloning software and follow the on-screen instructions to begin the cloning process. Select the source HDD and the destination SSD. Adjust any settings, such as partition sizes, if needed. Start the cloning process and wait for it to complete.
III. Changing Boot Priority and Verifying the Cloned OS
After the cloning process is finished, it is essential to configure your computer’s boot priority to ensure successful booting from the newly cloned SSD. This section will guide you through the necessary steps to complete this vital configuration.
1. Accessing BIOS Settings:
To change the boot priority after transferring your OS to the SSD, start by restarting your computer. During the boot process, look for the key that grants access to the BIOS settings, typically Del, F2, or F12. Press the designated key to enter the BIOS interface. Once inside the BIOS, navigate to the boot priority or boot order settings. The exact location and wording may vary depending on your system’s BIOS version. Look for options related to boot order, boot devices, or similar terms. Use the available keys (usually +/- or Page Up/Page Down) to rearrange the boot order. Ensure that the SSD, where you transferred the OS, is set as the primary boot device. Save the changes and exit the BIOS. The system will now prioritize booting from the SSD, allowing you to enjoy the enhanced performance of your newly installed operating system.
2. Changing Boot Priority:
Adjust the boot priority to give the SSD the highest priority. This ensures that your computer boots from the SSD instead of the old HDD. Save the changes and exit the BIOS settings.
3. Verifying the Cloned OS:
Restart your computer and verify that the OS successfully boots from the SSD. Ensure that all files, settings, and applications are intact. Test the system’s performance and speed to confirm the successful OS transfer.
IV. Post-Transfer Cleanup
After successfully moving your OS from the HDD to the SSD, this section will provide some additional steps to optimize your system’s performance and maximize the benefits of the SSD upgrade.
1. Formatting the Old HDD:
Once you have verified that the OS transfer was successful, you can format the old HDD to use it as additional storage or for other purposes. Be cautious and ensure that you have backed up any important data before formatting.
2. Updating SSD Firmware and Drivers:
Check the manufacturer’s website for any available firmware or driver updates for your SSD. Keeping your SSD’s firmware up to date can improve compatibility, performance, and security.
3. Optimizing Storage Settings:
Make use of the SSD’s optimization features. Enable TRIM support, which helps maintain the SSD’s performance over time. Disable disk defragmentation, as it is unnecessary and can wear out the SSD.
Conclusion:
Moving your OS from an HDD to an SSD can bring about a significant improvement in your computer’s performance and overall user experience. By following the step-by-step guide provided in this article, you can confidently transfer your OS, harnessing the full potential of your new SSD. Embrace the enhanced speed, responsiveness, and reliability that an SSD offers, and enjoy the benefits of a faster computing experience.