The Importance of Expanded Storage for Mac Users
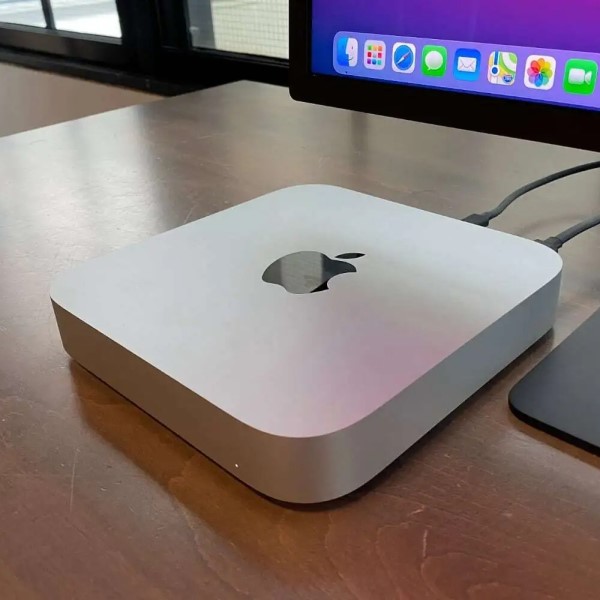
Mac computers are renowned for their sleek design and robust performance. However, they often come with limited internal storage capacity. This is particularly true for newer models with soldered SSDs that users cannot upgrade. Consequently, many users find themselves running out of space quickly. Photos, videos, and applications consume vast amounts of data. Therefore, expanding storage becomes a necessity rather than a luxury. This is where the utility of an external hard drive for mac becomes undeniable. It provides a simple and effective solution for offloading large files. Furthermore, it serves as a crucial tool for Time Machine backups. This ensures your data remains safe in case of system failure.
Transitioning to external storage is usually straightforward. Yet, the macOS environment is unique. It has specific file system requirements that differ from Windows. As a result, users often encounter compatibility issues. A drive that works perfectly on a Windows PC might not function correctly on a Mac. It might be read-only or not appear at all. Understanding these nuances is vital for a smooth experience. Moreover, the market offers a bewildering array of choices. From ruggedized hard drives to lightning-fast solid-state drives (SSDs), the options are endless. Choosing the right one can feel overwhelming.
In addition to hardware selection, software configuration plays a massive role. Proper formatting is essential for optimal performance. Without it, you might face data corruption or slow transfer speeds. Therefore, this article aims to demystify the process. We will explore the common issues users face. We will also provide step-by-step fixes. By the end of this guide, you will have the knowledge to manage your external storage effectively. You will ensure your data is accessible, safe, and secure.
Understanding File System Formats and Compatibility
The most common source of confusion involves file system formats. A file system organizes how data is stored on a drive. Windows primarily uses NTFS (New Technology File System). macOS, on the other hand, uses APFS (Apple File System) or the older Mac OS Extended. Consequently, a new external drive often comes pre-formatted for Windows. When you plug it into a Mac, you can read files. However, you often cannot write or delete files. This creates a significant barrier for users who need to transfer data. Therefore, understanding these formats is the first step to resolving compatibility headaches.
For modern Mac users, APFS is the native format. It is optimized for SSDs and Flash storage. It offers excellent speed, security, and reliability. However, APFS drives do not work natively with Windows. If you only use Macs, APFS is the best choice. Alternatively, you might need cross-platform compatibility. In this case, ExFAT is the recommended format. It allows both Mac and Windows computers to read and write freely. Therefore, you must choose the format based on your specific workflow. Do you share files between different operating systems? If so, ExFAT is essential. If you use the drive solely for Mac backups, stick with APFS or Mac OS Extended.
Furthermore, older formats like FAT32 still exist. However, they have significant limitations. FAT32 cannot handle individual files larger than 4GB. This makes it unsuitable for high-definition video files or large archives. Consequently, ExFAT has largely replaced FAT32 for cross-platform needs. To check a drive’s format, you can use the “Get Info” option in Finder. This simple step reveals the file system type. Knowing this helps you diagnose why a drive behaves a certain way. Ultimately, reformatting the drive is often the solution to permission errors.
Selecting the Right Hardware for Your Needs
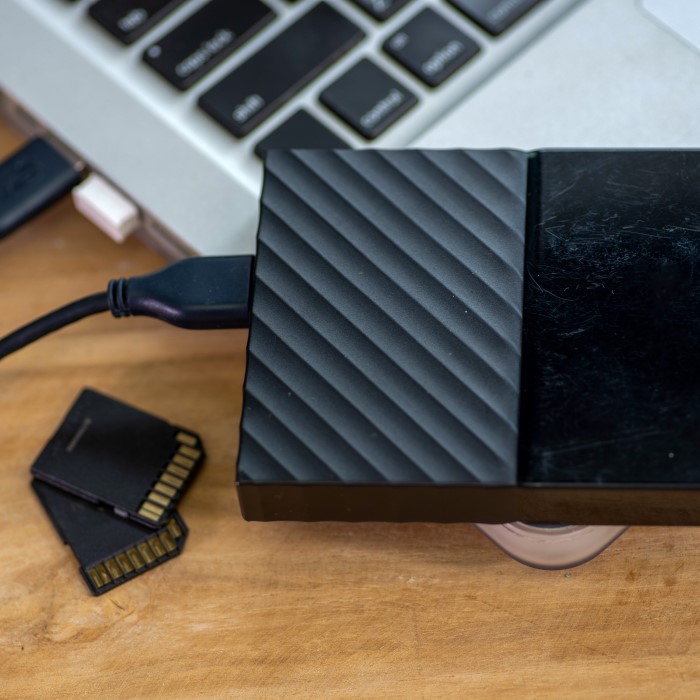
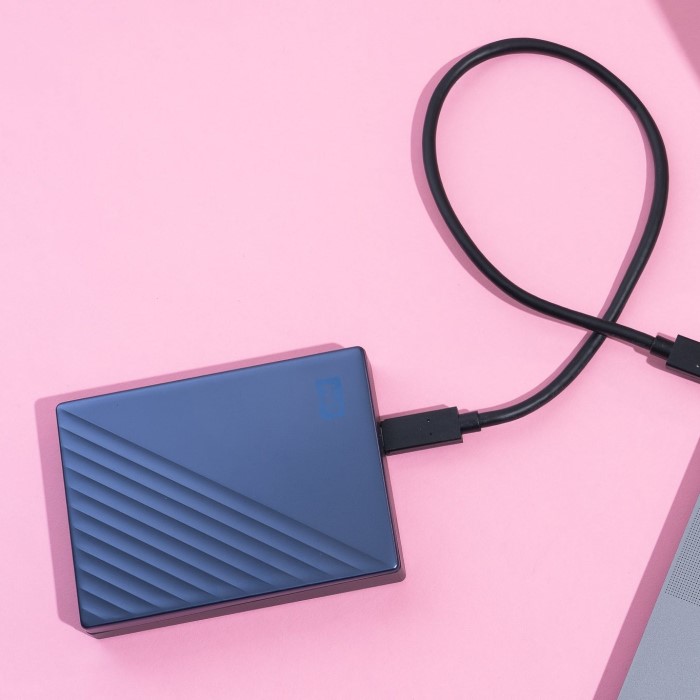
Not all external drives are created equal. When shopping for an external hard drive for mac, you must consider the underlying technology. Traditional Hard Disk Drives (HDDs) use spinning magnetic platters. They are generally cheaper and offer larger capacities. Therefore, they are suitable for bulk storage and backups. However, they are slower and more fragile due to moving parts. A drop can easily damage the internal mechanism. In contrast, Solid State Drives (SSDs) use flash memory. They have no moving parts. Consequently, they are significantly faster, lighter, and more durable.
Speed is a major differentiator. An SSD can transfer files several times faster than an HDD. This makes a massive difference when working with large video files or running applications directly from the drive. Furthermore, the connection interface matters. Most modern Macs use USB-C or Thunderbolt ports. These ports offer high data transfer speeds. Therefore, you should look for drives that support USB 3.1, USB 3.2, or Thunderbolt 3/4. Using an older USB-A drive with an adapter might slow down performance. It adds unnecessary complexity to your setup.
Additionally, consider the build quality and portability. Some drives are designed to be rugged. They feature water and dust resistance. These are ideal for photographers or field workers. Others are ultra-compact and pocket-sized. These suit students and commuters better. Furthermore, pay attention to the cable included in the box. Many drives now come with USB-C cables. If your Mac only has USB-C ports, this is perfect. However, older Macs might require a USB-A to USB-C adapter. Planning ahead prevents frustration later. Investing in a high-quality drive now saves time and stress in the future.
Step-by-Step Guide to Formatting Your Drive
Once you have purchased a drive, you likely need to format it. This process prepares the drive for use with macOS. It erases all existing data and sets up the correct file system. Therefore, ensure you back up any important files before proceeding. To begin, connect the drive to your Mac. Then, open the “Disk Utility” application. You can find this by pressing Command + Space and typing “Disk Utility.” Once the application opens, you will see a list of drives on the left sidebar.
Select your external drive from the list. Be careful not to select your internal Macintosh HD. Click the “Erase” button at the top of the window. A dialog box will appear asking for a name, format, and scheme. For the name, choose something easily recognizable. For the format, select “APFS” if you use the drive only for Mac. Alternatively, select “ExFAT” if you need Windows compatibility. For the scheme, “GUID Partition Map” is the standard for modern Macs. This setting ensures the drive is bootable if you ever need to install macOS on it.
Click “Erase” to start the process. The duration depends on the drive’s size and speed. Once completed, the drive will appear on your desktop or in the Finder sidebar. You can now copy files to it freely. This simple process resolves the vast majority of “read-only” errors. It ensures the drive is perfectly tailored to your operating system. Furthermore, formatting can fix minor logical errors on a drive. If a drive was behaving erratically, a fresh format often restores its functionality. Just remember, this deletes everything. So, double-check your backups.
Troubleshooting Connection and Power Issues
Sometimes, the drive does not appear at all. This is a frustrating experience. You plug the device in, but nothing happens. There are several potential causes for this. First, check the physical connection. Ensure the cable is firmly seated in both the drive and the Mac port. Try a different cable if possible. Cables are a common point of failure. Furthermore, try a different port on your Mac. A specific port might be malfunctioning or dirty. If you are using a hub, try connecting the drive directly to the Mac. Some hubs do not pass enough power to the drive.
Power delivery is a critical factor. Some larger external hard drives require more power than a single USB port provides. This is common for older, spinning hard drives. If the drive has a separate power adapter, ensure it is plugged in. If it relies on USB power, it might fail to spin up on a laptop running on battery. Consequently, try plugging your MacBook into a power source. Alternatively, use a “Y-cable” that draws power from two USB ports. This provides the necessary juice to start the drive.
Moreover, check the Finder preferences. Sometimes the drive is connected but hidden. Open “Finder” and select “Settings” or “Preferences.” Under the “General” tab, ensure “External disks” is checked. Also, check the “Sidebar” tab to ensure external disks are visible there. If the drive appears in Disk Utility but not on the desktop, the mount process might have failed. You can manually click the “Mount” button in Disk Utility. These software settings often hide functional drives. Therefore, always check these basic settings before assuming the drive is broken.
Resolving Read-Only Errors and Permissions
A very frequent issue is the “read-only” error. You can see the files, but you cannot modify them. This usually happens because the drive is formatted as NTFS. As mentioned earlier, macOS can read NTFS but cannot write to it natively. To fix this, you have a few options. The most permanent solution is reformatting the drive to ExFAT or APFS. However, this deletes all data. Therefore, you must first copy the files to another location. If you do not have enough space to move the data, you need another solution.
You can use third-party software to enable NTFS write support on macOS. Applications like Paragon NTFS or Tuxera NTFS allow full read/write access. These are paid applications, but they are reliable. They run in the background and make the NTFS drive behave like a native drive. This is useful if you share a drive with a Windows user and cannot reformat it. Furthermore, some open-source alternatives exist. However, they often require more technical knowledge to set up. They might also be less stable than commercial options.
Another cause for permission errors relates to the “Ignore ownership on this volume” setting. Sometimes, macOS incorrectly assigns permissions to an external drive. To fix this, right-click the drive and select “Get Info.” Scroll down to the “Sharing & Permissions” section. Check the box that says “Ignore ownership on this volume.” This tells the system to treat all files on the drive as accessible to the current user. Consequently, this resolves issues where you are locked out of your own files. It is a quick fix that often works for drives formatted on other Macs.
Maintenance and Data Safety Best Practices
Owning an external hard drive for mac requires proper maintenance to ensure longevity. First, always eject the drive before unplugging it. Simply pulling the cable out can cause data corruption. The drive might be writing data in the background. Abruptly cutting power interrupts this process. To eject safely, drag the drive icon to the Trash. Alternatively, click the eject symbol next to the drive name in Finder. Wait for the icon to disappear from the desktop. Only then should you unplug the cable. This habit protects your valuable files.
Furthermore, keep your drive in a safe environment. Avoid extreme temperatures and humidity. Heat is the enemy of electronics. Do not leave your drive in a hot car or direct sunlight. For HDDs, physical shock is a major risk. Avoid dropping them. For SSDs, while they are more durable, they can still fail. Therefore, having a backup is crucial. The 3-2-1 backup strategy is highly recommended. Keep three copies of your data. Store them on two different types of media. Finally, keep one copy offsite. This protects you against theft and natural disasters.
Regularly check the drive’s health using Disk Utility. Run “First Aid” occasionally. This tool scans the drive for errors and repairs them. If you notice strange noises or extremely slow speeds, back up your data immediately. These are signs of impending failure. Do not ignore them. Proactive monitoring saves you from catastrophic data loss. Treat your storage devices with care. They are the custodians of your digital life.
Frequently Asked Questions
Many users have specific questions about external storage. Here are answers to the most common queries.
Will any external hard drive work with a Mac?
Technically, yes. Almost any external hard drive will connect to a Mac physically. However, the software format is the key. Most drives come pre-formatted for Windows (NTFS). Therefore, they will work in a limited capacity. You can read files but likely cannot write to them. To use the drive fully, you must format it correctly. Use Disk Utility to reformat it to APFS or ExFAT. This ensures seamless integration with macOS.
What’s the best external hard drive for a MacBook Pro?
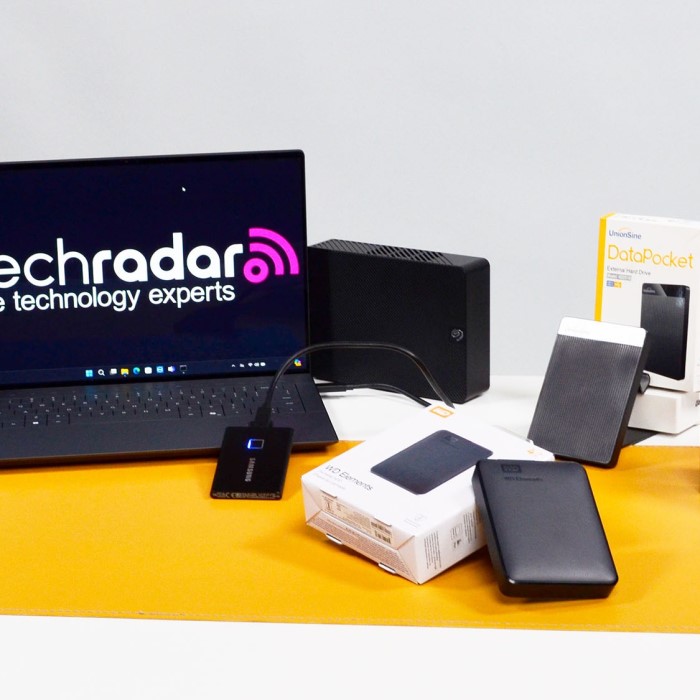
The “best” drive depends on your needs. For speed, choose a portable SSD like the Samsung T7 or the SanDisk Extreme. These are compact and fast. They match the premium feel of a MacBook Pro. For bulk storage, a desktop HDD like the WD My Book is better. It offers high capacity at a lower price. Look for drives with USB-C or Thunderbolt connectivity. This matches the ports on modern MacBook Pros. It ensures the fastest possible data transfer speeds.
Why is my MacBook not picking up my external hard drive?
This is a common troubleshooting question. First, check the cable and the port. Try a different cable to rule out damage. Next, check Finder Preferences. Ensure “External disks” are set to show on the desktop. If the drive still does not appear, open Disk Utility. See if the drive is listed there. If it is, the drive might just need to be mounted. If it is not listed anywhere, the drive itself might be dead. Try it on another computer to confirm.
Conclusion
Managing storage does not have to be a headache. While macOS has its quirks, the solutions are straightforward. From understanding file systems to troubleshooting connections, knowledge is power. An external hard drive for mac is an essential tool for every user. It expands your creative horizons and secures your memories. By following the steps outlined in this guide, you can overcome common issues. You can ensure your drive performs reliably for years. Remember to format new drives correctly. Always eject them safely. Keep backups of your important data. With these practices, you will master your digital storage needs. You will never have to worry about running out of space again.