Preparing for GPU Removal
Before you begin the GPU removal process, preparation is key. Ensure you have a clear, well-lit workspace. Now, let’s focus on safety and the tools you will need.learn about how to remove a GPU.
Safety Precautions and Tools Needed
Safety first: power off your computer and unplug it from the electrical outlet. Wait a few moments to let any residual power dissipate. It’s important to ground yourself to prevent electrostatic discharge (ESD) which can harm the components. Use an antistatic wrist strap or touch an unpainted metal surface on your computer’s case.
As for tools, gather the following:
- A Phillips head screwdriver, often needed to remove screws.
- An antistatic wrist strap, to safeguard against ESD.
- A small container or cup, to hold screws and prevent loss.
- Optional: needle-nose pliers or tweezers can help manipulate small cables.
With these safety precautions and tools, you’re ready to proceed with confidence. Remember to keep your workspace organized and handle components with care as you learn how to remove a GPU.
Identifying the GPU in Your System
Once you’ve taken the necessary safety steps and gathered your tools, it’s time to locate the GPU (Graphics Processing Unit) within your computer system. The GPU is a critical piece of hardware responsible for rendering images, videos, and animations in both games and applications. Identifying the GPU is essential before proceeding with removal.
Locating the GPU on the Motherboard
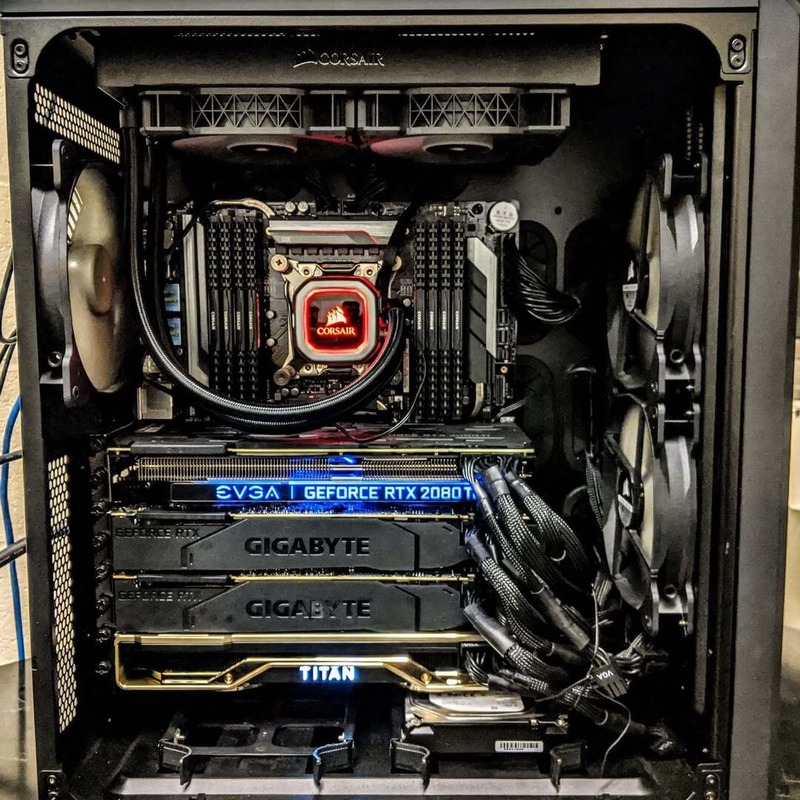
To find the GPU, you’ll need to open the computer case as discussed in the upcoming sections. Once inside, look for the motherboard – it’s a large circuit board housing most of your computer’s hardware. Typically, the GPU is inserted into the PCIe (Peripheral Component Interconnect Express) slot of the motherboard.
Here’s how to identify the GPU:
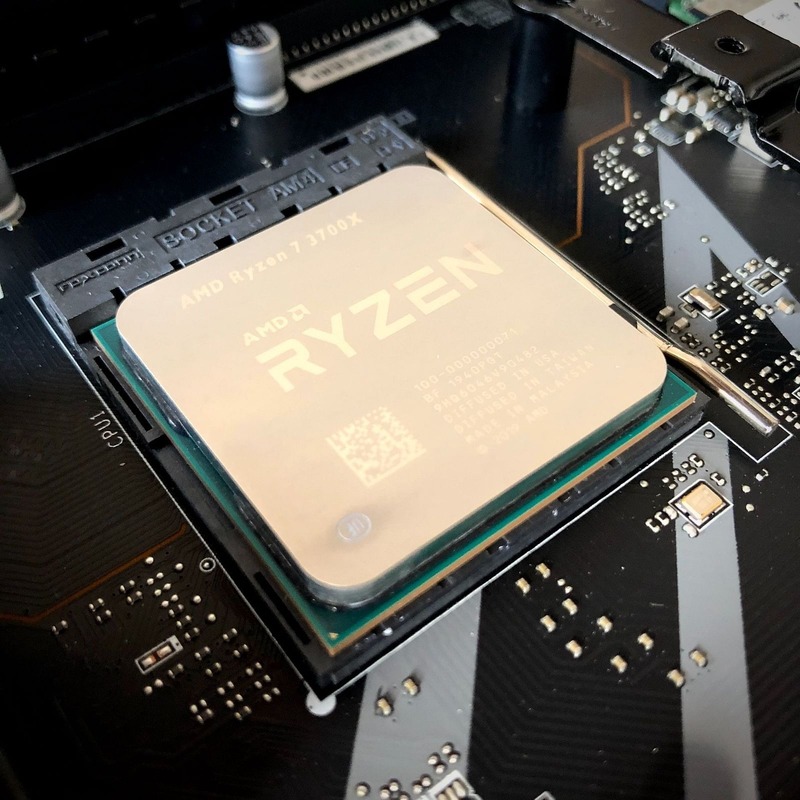
- Look for the largest card plugged into the motherboard, usually near the CPU.
- It often has one or more fans on it to keep it cool during intensive tasks.
- The GPU is usually connected to the monitor via a cable from the back of the card.
By now, with these steps, you should be able to pinpoint the location of your GPU. Remember, handling the GPU requires care, so proceed with a steady hand and patience.
Powering Down and Disconnecting Your Computer
Before you remove the GPU, it is critical to ensure that your computer is completely powered down and disconnected from any power sources. This is a safeguard against electrical shocks and prevents damage to your components.
Steps to Properly Shutdown and Unplug
To power down your computer properly, follow these steps:
- Start by saving any open files and closing all applications to prevent data loss.
- Next, click on the ‘Start’ menu, then the ‘Power’ button, and choose ‘Shut Down’ to turn off your computer.
- Wait until the computer has completely shut down and all lights are off.
- Once shut down, disconnect all cables from the back of the computer. This includes the power cable, display cables, and any peripherals.
- Press and hold the power button for a few seconds after unplugging to discharge any residual power.
By taking these simple steps, you guarantee a safe environment to proceed with removing your GPU. Remember to handle each cable with care and organize them as you go to ensure an easy reconnection later. After you’ve disconnected your computer, you can move on to the next step of opening the computer case.
Opening the Computer Case
Gaining Access to the Internal Components
Opening your computer case is the next step in how to remove a GPU. Start by identifying the screws or latches that hold the case panels in place. These are often found on the back of the computer. Use your Phillips head screwdriver to carefully remove the screws. Store them in your small container to prevent losing any.
After removing the screws, gently slide or pull the side panel away from the case. Some cases may require more than one panel to be removed. Make sure to check your computer’s manual if you’re unsure. With the panels off, you can now see the internal components of your computer. Take a moment to locate the GPU again, ensuring you are ready for the next step.
As you work, avoid touching any of the internal parts more than necessary. This helps prevent damage from static or physical force. If you have not already done so, attach your antistatic wrist strap to a metal part of the case. Keep your workspace clear of clutter and be cautious not to bump anything inside the case. Handling internal components requires care to maintain the integrity of your system.
Disconnecting the GPU
After you’ve gained access to the internal components by opening your computer case, the next phase in how to remove a GPU is disconnecting it properly. This involves detaching power connectors and other cables before releasing it from the motherboard.
Unplugging Power Connectors and Other Cables
With the computer case open, the GPU will have power connectors attached. These connectors may vary, mostly 6-pin or 8-pin, and sometimes a combination of both. Grasp the connector firmly and unplug it by gently pulling it straight out of the GPU. Avoid using too much force which could damage the connectors.
Additionally, if your GPU has any additional cables connected, such as SLI or Crossfire bridges, disconnect them now. Be sure to note the orientation and position of these cables to help with reconnection or installation of a new GPU later on.
Releasing the GPU Retention Mechanism
Most GPUs are secured to the case and motherboard by a retention mechanism. This could be a latch, screw, or lever, generally located at the end of the GPU slot. Carefully disengage this mechanism to unlock the GPU. For a latch, you may need to push down or to the side; for screws, use your Phillips head screwdriver again. And for levers, a gentle push or pull is usually enough to release them.
Keep in mind that some retention mechanisms might be tight or require a bit of pressure, but it’s important to proceed with care and patience. Applying too much force can damage the motherboard or the GPU. Once the GPU is released from the retention mechanism, you can move on to physically removing the GPU.
Physically Removing the GPU
After disconnecting, it’s time to remove the GPU. This step requires steady hands and attention.
Handling and Extraction Techniques
To remove the GPU safely, follow these simple tips:
- Hold the GPU by its edges. This avoids damage to the board and components.
- Gently lift the card straight up and out of the slot. Keep your grip firm and even.
- If the GPU feels stuck, check for any missed screws or latches.
- Once free, place the GPU on a static-free surface or in an anti-static bag.
By using proper handling and extraction techniques, you ensure the safety of both the GPU and the motherboard. Never use excessive force or pull at an angle, as this can lead to damage. Now the GPU is removed, you can proceed with post-removal steps.
Post-Removal Steps
Once you have successfully removed the GPU, there are important follow-up actions to take. Ensuring the area is clean and prepped for either a new GPU or the replaced one is crucial. Here’s what you need to do next.
Cleaning the PCIe Slot
After removing the GPU, the PCIe slot may have dust or debris. To safeguard future performance and maintain a clean environment for your components, follow these steps:
- Use a can of compressed air to blow dust away from the PCIe slot. Do this gently to avoid damage.
- For stubborn particles, a soft brush can help loosen and remove them.
- Recheck the slot to ensure all dust and debris are gone before installing a new GPU or returning the old one.
Managing Thermal Paste and Other Considerations
If your GPU was directly attached to a heatsink, manage the thermal paste as follows:
- Carefully remove old thermal paste from the GPU with isopropyl alcohol and a lint-free cloth.
- Apply a small blob of new thermal paste onto the GPU processor if you’re reinstalling it or a replacement.
- Spread the paste evenly before reattaching the heatsink to ensure optimal heat transfer.
Moreover, note other considerations:
- Check for any damage or wear on the GPU or PCIe slot that could affect future performance.
- If inserting a new GPU, ensure it’s compatible with your system.
- Remember to handle all parts with care, as rough handling can lead to damage or static build-up.
By taking these post-removal steps, you ensure a clean and safe environment for your system’s components. With your workspace organized and the PCIe slot clean, you’re ready to install a new GPU or reinstall the existing one.
Installing a New GPU
If you decide to upgrade or replace your GPU, proper installation is critical. Here’s how you can install a new GPU safely and effectively.
Steps for Proper Installation of a Replacement GPU
To install a new GPU, follow these steps:
- Open the computer case if it’s not already open from the removal of the old GPU.
- Inspect the PCIe slot where the GPU will go to ensure it’s clean.
- Align the new GPU with the PCIe slot, paying attention to the notch in the slot.
- Gently insert the GPU into the PCIe slot with even pressure until it clicks into place.
- Secure the GPU to the case using the retention mechanism—screws or a latch.
- Connect any power connectors the GPU requires, ensuring they click into place.
- If the GPU comes with protective covers on its ports, remove them before connecting display cables.
- Close the computer case, reattach screws or latches, and tidy up your workspace.
- Connect your display cables to the new GPU and reconnect all peripherals.
- Power on your computer to ensure the GPU is working. Install necessary drivers.
By following these straightforward steps, you can install a new GPU with confidence. Handle the GPU and other components with care to avoid damage. Remember to secure the card firmly to prevent movement and ensure all cables are correctly connected before powering on the computer. After the installation, don’t forget to install the latest drivers for the new GPU to ensure optimal performance.