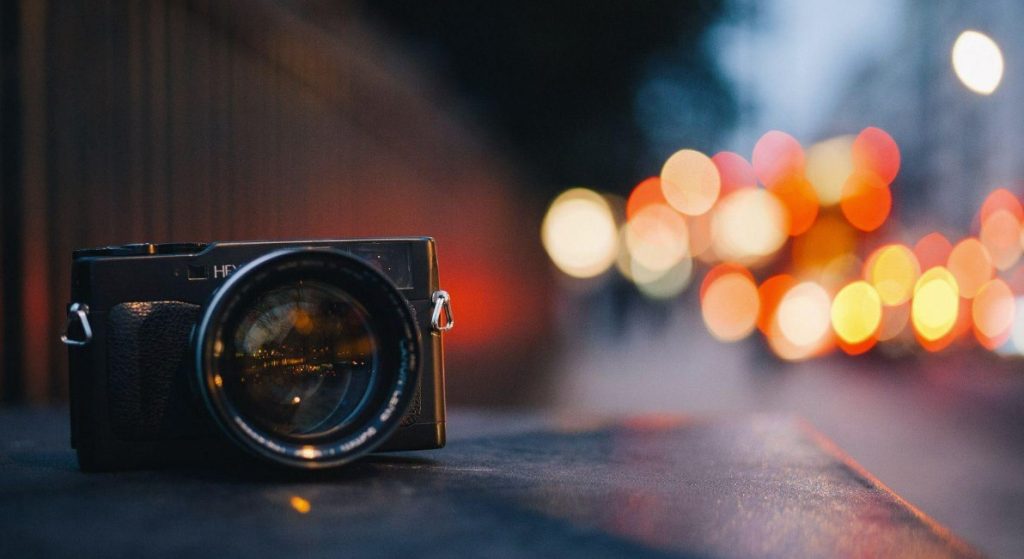
Part 1: Identifying the Causes of Blurry Camera Issues
Dealing with a blurry camera can be frustrating, especially when trying to capture precious moments or important events. In this article, we will explore the common causes of blurry camera issues and provide solutions to help you troubleshoot and resolve them.
Point 1: Improper Focus
Blurry camera issues are often caused by improper focus, resulting in blurred images or videos. This can occur due to incorrect camera settings or a faulty autofocus system. It is crucial to ensure that the camera is accurately focusing on the subject to capture clear shots.
To address focus-related problems, check your camera settings and make sure the autofocus mode is enabled and properly configured. Additionally, ensure that the focus area is correctly selected for your desired subject. By adjusting these settings, you can improve focus accuracy and minimize blurriness in your images or videos.
If the issue persists, consider troubleshooting other potential causes, such as camera shake or external factors like insufficient lighting or environmental conditions. By identifying and addressing these factors, you can enhance the overall sharpness and clarity of your camera’s output.
Point 2: Camera Shake
Camera shake occurs when the camera moves during the exposure, resulting in blurry images. This can happen when shooting handheld in low light conditions or when using a slow shutter speed without stabilization. It is essential to address this issue to capture sharp and clear photos or videos.
Part 2: Troubleshooting Solutions for Blurry Camera Issues
Now that we have identified the main causes of blurry camera issues, let’s explore some troubleshooting solutions to help you address and resolve these problems.
Point 1: Check Camera Settings
To troubleshoot blurry camera issues, begin by reviewing your camera settings to ensure they are properly adjusted. Check that the autofocus mode is enabled and appropriately configured based on the type of subject you are capturing. It is also important to verify that the focus area is correctly selected to ensure accurate focusing on your desired subject.
Take the time to familiarize yourself with your camera’s menu system and make any necessary adjustments. Some cameras offer different autofocus modes, such as single-point focus or continuous autofocus, so choose the mode that best suits your shooting scenario.
Additionally, double-check that the focus area is not set to automatic or multi-point focus, as this can lead to inconsistent focus and potentially result in blurry images. By selecting a specific focus area, you have greater control over where the camera is focusing, contributing to sharper and more precise results.
By ensuring your camera settings are properly configured, you increase the likelihood of capturing clear and sharp images without the frustration of blurriness.
Point 2: Stabilize the Camera
To address camera shake, it is crucial to stabilize your camera during the shot. This can be achieved through various methods:
a) Use a Tripod: Using a tripod provides a stable platform for your camera, minimizing shake caused by hand movements. Ensure the tripod is set up securely and adjust the height and angle to frame your subject correctly.
b) Utilize Image Stabilization: If your camera or lens has built-in image stabilization, activate this feature to help compensate for any camera movements. Image stabilization can significantly reduce blur caused by shaking hands or movement.
Part 3: External Factors Affecting Image Quality
Apart from issues related to focus and camera shake, external factors can also impact image quality and cause blurriness. Let’s explore two common external factors and their potential solutions.
Point 1: Insufficient Lighting Conditions
Insufficient lighting can lead to blurry images, especially when shooting in low light situations. In such cases, the camera may struggle to achieve a fast enough shutter speed to capture a sharp image.
a) Increase ISO: Increasing the ISO setting can make your camera more sensitive to light, allowing for faster shutter speeds. However, higher ISO values can introduce noise or grain, so find the right balance for your specific camera model.
b) Use External Lighting: If possible, introduce additional lighting to the scene. This can be done by utilizing external flashes or continuous lighting sources to provide adequate illumination for a sharper image.
Point 2: Environmental Factors
Environmental factors such as wind, vibration, or movement can also contribute to blurry images. These factors can cause the subject or camera to move, resulting in less sharp photos or videos.
a) Choose a Faster Shutter Speed: Increasing the shutter speed can help freeze motion and minimize blur caused by environmental factors. Experiment with faster shutter speeds to find the optimal setting for your specific scenario.
b) Brace Yourself and the Camera: If windy conditions are causing camera shake, try bracing yourself and the camera against a solid object or utilizing a camera stabilizer to minimize movement caused by external factors.
Part 4: Regular Maintenance and Professional Assistance
To ensure consistent sharpness and clarity in your camera‘s performance, regular maintenance and occasional professional assistance are essential.
Point 1: Cleaning the Lens and Sensor
Maintaining clean camera equipment is crucial for optimal image quality. Dust, fingerprints, and smudges on the lens or image sensor can negatively impact the clarity of your photos. To remedy this, clean your camera lens using a soft cloth or a specifically designed lens cleaning solution. Gently wipe away any debris or smudges to ensure a clear view through the lens.
Cleaning the image sensor requires more caution and expertise. It is recommended to follow the manufacturer’s guidelines or seek professional cleaning services. The image sensor is a sensitive component, and improper cleaning can cause damage, affecting image quality.
If you choose to clean the image sensor yourself, use specialized sensor cleaning tools and follow step-by-step instructions. These tools usually include a sensor-cleaning swab and a sensor cleaning solution. Take care to handle the sensor swab delicately and avoid excessive pressure.
Regular maintenance, including cleaning the lens and image sensor, helps to maintain optimal image quality and ensures your camera performs at its best.
Point 2: Professional Service and Calibration
If you continue to experience persistent blurry camera issues, despite troubleshooting efforts, it may be necessary to seek professional assistance. Professional camera technicians can diagnose and resolve more complex issues, such as lens misalignment or internal mechanical problems. They can also calibrate and fine-tune your camera for optimal performance.
In conclusion, encountering blurry camera issues can be frustrating, but with the right troubleshooting solutions, many problems can be resolved. By understanding the causes, such as improper focus or camera shake, and implementing the suggested solutions, such as checking camera settings and stabilizing the camera, you can minimize blurriness and capture sharp and clear photos or videos. Remember to consider external factors, conduct regular maintenance, and seek professional assistance when necessary to ensure consistent image quality and performance from your camera.